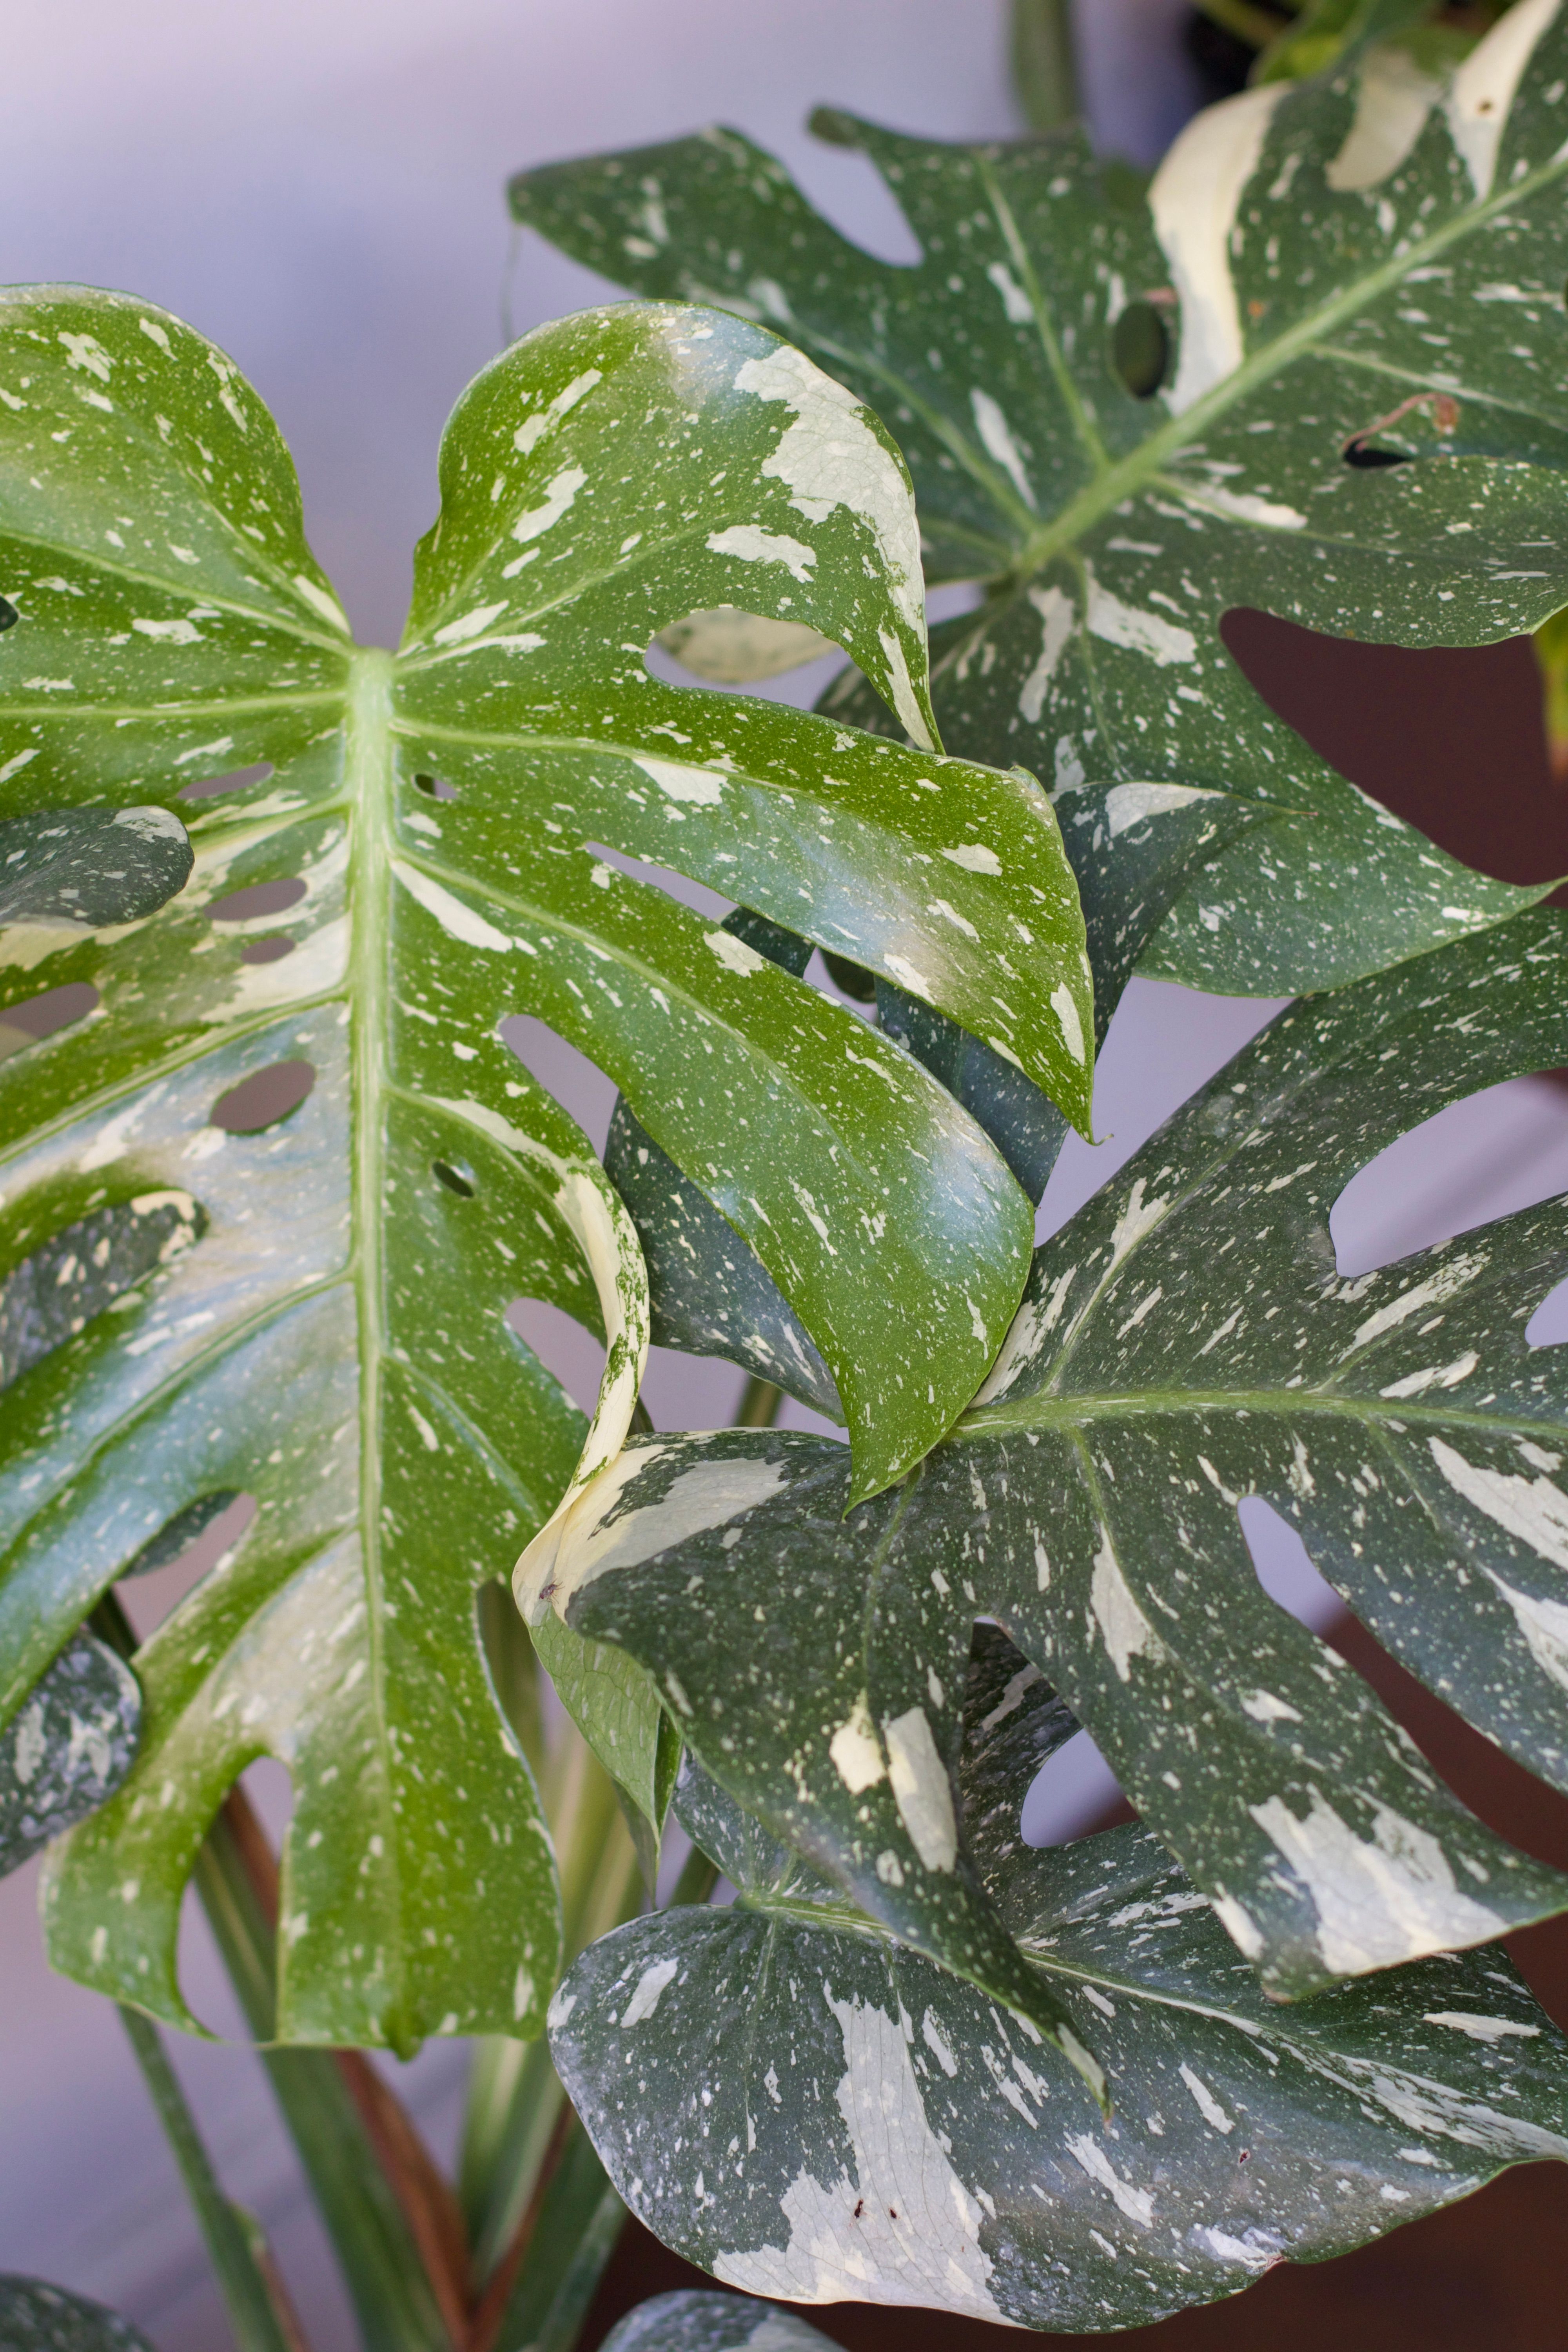
A floppy Monstera isn't a dying Monstera. It's a climber with nothing to climb.
If your Monstera Deliciosa has suddenly started leaning sideways, spreading out across your floor, or pushing out long, wild brown roots into thin air, do not panic. Your plant isn't falling apart, it's simply maturing. In their natural tropical habitats, monsteras use their sturdy aerial roots to cling onto massive rainforest trees, scaling the canopy toward the light.
Without a physical structure to attach to in your home, those long, heavy stems will eventually spill over the edges of the pot. Staking your plant restores its upright shape, encourages much larger leaves with dramatic fenestrations (holes), and saves valuable floor space in your home.
Why Monsteras Flop in the First Place
Monsteras are hemiepiphytes, meaning they start life grounded in the soil but naturally seek out vertical surfaces to climb.
As a Monstera matures, it develops a clear front and back:
- The Front: Where the leaves expand outward and reach toward the light source.
- The Back: Where the main stem node sits and aerial roots emerge to anchor the plant.
When a Monstera grows without a vertical support, the weight of its thick stems and heavy foliage forces the plant to sprawl horizontally. Giving it something to lean on mimics its natural habitat, signaling to the plant that it is secure enough to produce larger, mature growth.
Moss Pole vs. Stake: Which One Do You Need?
Choosing the right support comes down to how much maintenance you want to do and the look you prefer for your space:
- Sphagnum Moss Pole (Best for Maximum Leaf Size):
- What It Is: A mesh or wire cylinder filled with damp sphagnum moss.
- Why Use It: Aerial roots can actually grow into the damp moss, absorbing extra water and nutrients directly through the pole. This mimics a living tree trunk and yields the fastest growth and largest, most fenestrated leaves.
- The Catch: Requires regular spraying or watering to keep the moss moist.
- Wood or Coco Coir Stake (Best for Low Maintenance & Support):
- What It Is: A solid wooden stake, cedar plank, or sturdy rod wrapped in coco coir fiber.
- Why Use It: Provides solid, rigid structural support to anchor heavy, leaning stems upright. It never dries out or requires watering, making it a clean, low-maintenance option.
- The Catch: Aerial roots won't penetrate solid wood or dry coir, so you will rely on ties to keep the plant attached.
Placing the Support Without Spearing the Roots
The biggest fear most plant owners have is driving a pole straight through the root ball. Here is how to insert your support safely:
- Time It with Repotting (Ideal): The absolute safest time to add a pole is when you are already repotting your monstera. Place the base of the pole at the bottom of the pot first, position the plant against it, and then fill in your fresh, chunky soil mix around both.
- Identify the "Back" of the Plant: Look closely at the main stem to find where the aerial roots are popping out. The pole must go directly behind this side of the stem.
- Find a Natural Gap: If adding a stake to an existing pot, gently probe the soil behind the main stem with a smooth stick to feel for a gap between major roots.
- Insert Firmly: Slide the stake down near the back inner rim of the pot until it rests securely on the bottom, avoiding the dense central root core.
Tying the Plant Correctly
Tying your plant to the support is where most people make mistakes that can restrict growth or damage the plant.
- Use the Right Material: Use soft, flexible plant ties, plant tape, or soft twine. Never use thin wire, rubber bands, or zip ties, which can cut into expanding stems.
- Tie the Main Stem, NOT the Leaf Stems (Petiole): Only attach the thick main stem or heavy node branches to the pole. Never tie the thin leaf stems (petioles) to the pole. Petioles need freedom to twist and flex so the leaves can adjust themselves toward the window.
- Keep It Snug, Not Tight: Secure the tie firmly enough to hold the weight of the stem flush against the pole, leaving a little room for the stem to thicken as it grows.
Training Aerial Roots Onto the Pole
Those long, brown aerial roots dangling off your monstera aren't just for show, they are key to securing the plant!
- Guide Them Early: While aerial roots are young and flexible, gently guide and tuck them into the sphagnum moss or wrap them loosely around your wooden stake.
- Moisten for Flexibility: If an aerial root feels stiff or brittle, soak the root in a glass of lukewarm water for 10 minutes to make it pliable before guiding it onto the support.
- Direct into Soil: If an aerial root is too long to wrap around the pole, push the tip directly down into the potting soil. It will convert into a subterranean root and supply extra nutrients to the top leaves.
What to Expect Over the Next Few Months
Once your monstera is properly staked, give it time to settle in:
- Month 1 (Adjustment): Leaves will slowly rotate on their flexible petioles over the first few weeks to face the primary light source. The plant might look slightly rigid at first, but foliage will smooth out quickly.
- Months 2 to 3 (Root Anchoring): If using a damp moss pole, aerial roots will begin growing deep into the moss, anchoring the plant naturally so you can eventually remove the initial ties.
- Month 4+ (New Growth Explosion): The next new leaf that emerges from the trained stem will likely be visibly larger, stronger, and feature deeper splits or fenestrations than the last.
Need Help Staking a Big or Wild Monstera?
Staking a mature, heavy Monstera by yourself can feel like a big task! If you want an extra pair of hands, bring your plant into our Westerville or Dublin shop. You can grab a seat at our Plant Bar, pick out the perfect sturdy support, and let our team help you secure your plant up safely!